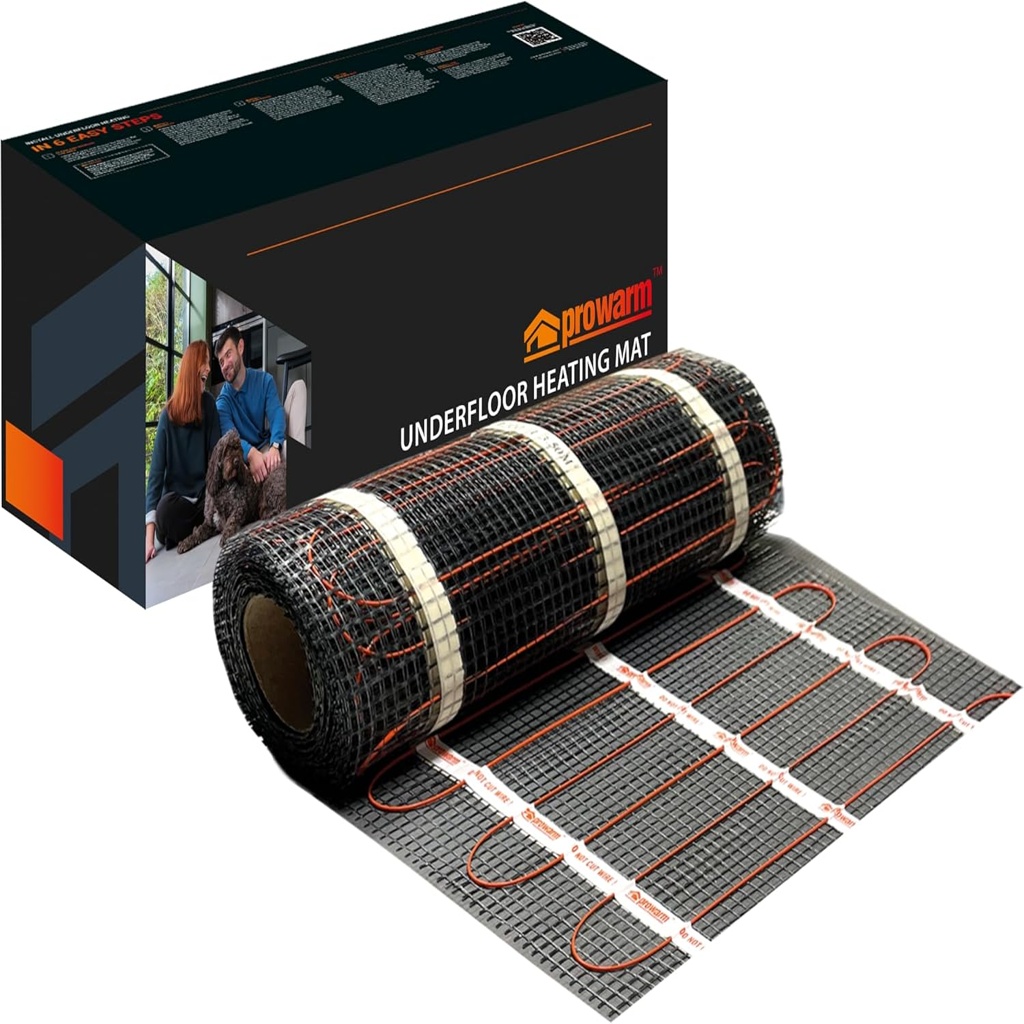
The ProWarm Electric Underfloor Heating Mat comes in three different system wattages to match your heating requirements best:
-The 100W Electric Underfloor Heating Mat is best suited as a primary heat source for new-build properties or a secondary heat source for older properties.
-The 150W Electric Underfloor Heating Mat is our best-selling option, this is suited for heating bathrooms, kitchens, and other living areas as the primary heating source and ensures a wonderfully cosy atmosphere.
-The 200W Electric Underfloor Heating Mat offers a 25% faster warm-up time, outperforming other wattage heating mats. It’s perfect for high heat loss areas in your home. This version is the most powerful yet, guaranteeing superior heat in your bathroom, kitchen, or living area, even on the coldest winter nights.
Specifications
High-Quality Construction
– ProWarm Electric Underfloor Heating Sticky Mat: Utilizes the same premium cable as the ProWarm Loose Cable kit. The mat incorporates a sticky fibreglass mesh to ensure optimal heat output by maintaining proper cable spacing. Installation is straightforward—simply roll out the mat to cover the desired heating area.
– Heating Cable: Series-type with twin conductors and a 4m cold lead at one end.
– Cable Composition: The resistance heating wire is encased in a fluoropolymer insulation layer, wrapped in protective metal shielding, and enclosed in a final plastic outer sheath. The twin conductor cable has a final diameter of 2mm.
– Junction Design: Unique design for hot and cold lead junctions ensures they are 100% foolproof.
Standards and Approvals
– Standards: Meets all test requirements of IEC 60335.
– Certifications: CE certified by SGS.
Performance and Benefits
– Cost-Effective: Provides heat precisely where needed, optimizing heat utilization and minimizing losses.
– Flexibility: Can be installed in any area or floor layout.
– Comfort: Close and uniform spacing of heating cables, combined with thermostat controls, allows for precise temperature settings, enhancing comfort.
– DIY-Friendly: Designed for easy installation with clear instruction manuals and professional technical support.
– Versatility: Available in various heat loads and sizes to suit various flooring types.
Mat Dimensions
Width: 0.5m
Length: Dependent on the selected square meter coverage
Cable thickness: 2mm
Kit Includes:
– Underfloor Heating Sticky Mat (Two individual mats if kit size over 12m2)
– Installation Kit (if selected):
– Floor Primer – a high-performance universal priming/sealing agent suitable for plaster, timber, brick, and block work.
– Roller – a high-quality roller for applying floor primer to the subfloor
– Adhesive tape – works to assist in holding a mat or cable in position during installation
– 2m Floor Sensor Probe Conduit – provides a protective pathway for the sensor probe, connecting to your thermostat
– Digital thermostat (if selected) – adjust the heat settings and enjoy warm floors through a simple touch of a button
Installation
Please Note: This is a brief guide. Always refer to the full installation manual for comprehensive instructions.
1. Plan Your Layout:
– Divide the floor into a series of rectangles. Use these measurements to calculate the number and sizes of mats needed, excluding permanent or static fixtures from your calculations.
2. Prepare the Subfloor:
– For screed over concrete floors, lay insulation boards to minimize heat loss and ensure quicker warm-up times.
3. Lay the Heating Mat:
– Start with the first run of the mat. Cut the mat (leaving the cable intact) at the end of each run, turn it 90° or 180°, and continue laying.
– Once the area is covered, adjust the mat so that the loops are evenly spaced.
– Secure the mat to the subfloor using the special tape provided.
4. Electrical Connections:
– Install an RCD fused spur to power the thermostatic controller/programmer and the mat system.
– Lay the temperature probe from the timer-thermostat onto the floor, position it equidistant between two cable loops, and secure it to the surface.
– Position the unheated power supply cable from the end of the mat system near the thermostat.
– Make all necessary connections to the power supply. Run the heaters for no more than 10 minutes to ensure they are heating up properly.
5. Finish the Flooring:
– Option 1: Apply a thin, self-levelling screed over the mat and allow it to dry completely before laying tiles.
– Option 2: Directly trowel flexible tile adhesive over the mat and lay the floor tiles.
– After grouting, let the tile adhesive cure fully before switching on the system.